
NOTES from THE TABLE
Baking bread is a very real act of faith. Whether it's your first try or a daily ritual, you're going to look at the meager pile of ingredients — flour, yeast, water, salt— and think, "Really? This?" But every time you trust the process, every time you take the simple steps and let time do it's job, you're going to get bread. Yes you. You might not think you're a person who bakes bread, but you are.
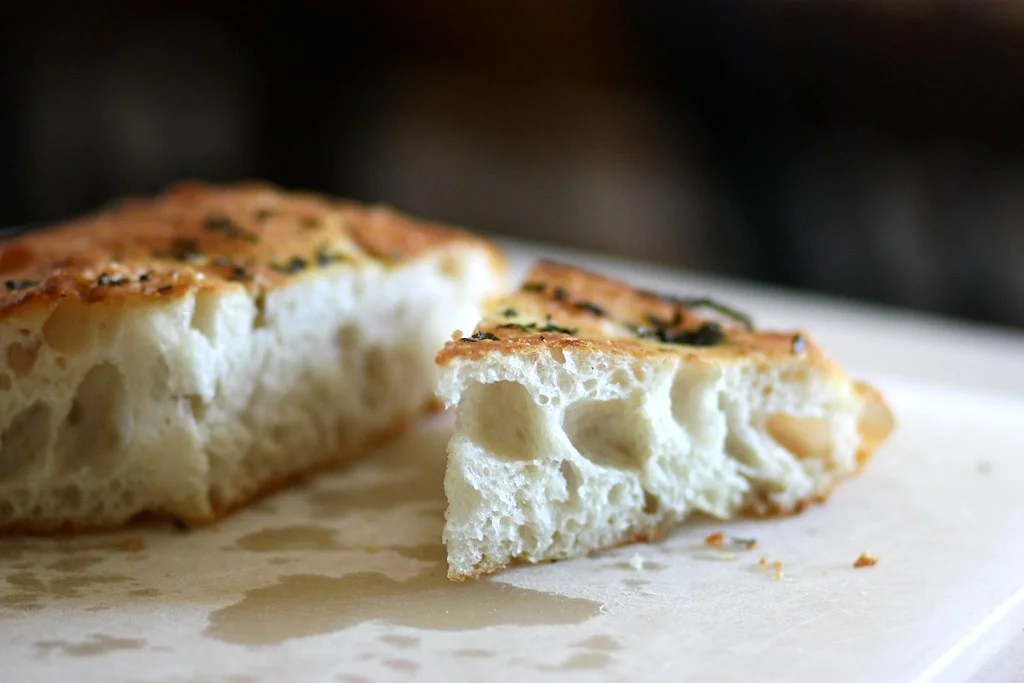
We're going to make focaccia. You'll cut through its hot, crisp exterior to find a tender, light interior. It starts out as a humble pile of mush in a bowl, what we call a biga. Many recipes for Italian bread begin with a biga because it will build complex flavor and ideal texture (tender but with lots of open pockets). The biga will actually even help preserve the bread. You'll begin with a bit of lumpy biga, then you'll wait. For a long time. Like overnight or a whole day. Then just a few more simple steps, and by dinner time, you'll have hot, fresh bread, perfect alongside soup (or anything else). People who don't even like you will accept dinner invitations to get this bread.
It will start as a simple, humble mess. You will give it time. You'll trust the process and obey the steps, and you'll make something beautiful. Let the life lesson not be lost on us.
Crowd your tables,
Megan
SIMPLE FOCACCIA
This recipe is adapted from America's Test Kitchen's recipe for Rosemary Focaccia, which you can access for free here.
STEP 1: BIGA
In a large mixing bowl, use a rubber spatula to combine 1/2 C Flour, 1/3 C Warm Water, and 1/4 t Rapid Rise or Instant Yeast.
The water should be warm to the touch, but not hot, or you'll kill the yeast. The mixture will be sticky and lumpy.
Cover with plastic wrap and tuck away on your counter overnight, up to a whole day.
STEP 2: ADD-INS & KNEAD
2 hours before mealtime, into the biga add 2 1/2 C Flour, 1 1/4 C Warm Water, and 1 t Rapid Rise or Instant Yeast. With your spatula, mix to combine. Cover with plastic wrap, and let it sit for 15 minutes. This gets the yeast going.
Next add 2t of Table Salt and use your spatula to combine.
Cover with plastic wrap and set a timer for 30 minutes.
When your timer goes off, uncover the bowl. You'll notice bubbles are starting to form. Be gentle with the dough. You want those bubbles.
Take your spatula and gently grab underneath one side of the dough, and sort of scoop it up and stretch it over the top, tucking it in on the other side. This doesn't have to be perfect. No fear. Just take one end of the dough, and move it over to the other side. Just don't crush your dough. Keep the bubbles.
Rotate the bowl 1/4 turn, and repeat the same stretch and tuck method. Do this 4-6 more times. Then cover the bowl and set a timer for 30 minutes. After 30 minutes, repeat this stretching and tucking process again, 6-8 times, and set another timer for 30 minutes.
STEP 3: PREHEAT & BAKE
While you wait that last 30 minutes, place 2 baking stones in your cold oven (or one if that's all you've got.) Heat your oven to 500 degrees.
Prep two 8 or 9 inch cake pans by placing 1 T Extra Virgin Olive Oil in each, swirling it around to cover the bottom. Sprinkle the bottom of each pan with about 1/4t Kosher Salt.
When that timer goes off, lightly flour a space on your counter and turn the dough out onto it. Use a pastry scraper or a chef's knife to cut the dough in half. Be gentle.
Shape each half into a round by carefully cradling it in your hands, tucking the cut end underneath. Place each round in the prepared cake pans upside down, swirling them around to cover the tops of the rounds with oil and salt, and to evenly coat the pans with oil. Flip them over and cover with plastic wrap. Wait 15 minutes.
Use your fingers to gently press the dough outward more toward the edges of the pan- it's ok if it doesn't go all the way. Poke any very large bubbles with a fork- just the really big ones.
Turn your oven down to 425 degrees and place your cake pans on top of the pizza stone(s). The hot stones are going to make the bottom of that bread crispy and beautiful.
Bake for 15-20 minutes, just until the top is golden brown. Swap the pans around and rotate them halfway through your time for a more even bake. Cool on a wire rack 10-15 minutes before slicing however you'd like.
The leftovers make delicious toast the next day, especially for sandwiches.